Image Compressor - Free Online
Compress images online without losing quality. Use Image Compressor when a lifestyle or outdoor photo looks right but is too heavy for a landing page, blog post, or campaign email.
The page is built for site owners, writers, and marketers who need faster pages without redesigning the image. It explains the right setting, shows what to inspect, and keeps the original file separate from the finished copy.
Preview & Output Workspace
🔒 Files are handled with privacy-first browser workflows where supported.
⚡ Most standard image operations complete in seconds on modern devices.
📁 Core export flows are designed for quick preview, review, and download.
Why Use Imgny's Image Compressor?
Strong tool pages need more than an upload box. They need clear benefits, realistic workflow guidance, and quick next steps.
Compress in the browser
Image Compressor keeps the working flow close to the page: choose a file, adjust a balanced compression level that reduces bytes while keeping the photo natural, preview the result, and download a new copy while the original remains untouched.
Quality-aware file reduction
Compression guidance focuses on visible quality, not only the lowest possible byte count, so photos, screenshots, and graphics can be checked before publishing.
Connected workflow loop
The goal is a lighter image ready for publishing, social previews, or email delivery. Imgny also points to nearby tools so the same image can continue into compression, conversion, resizing, review, or publishing without dead ends.
How to Use Image Compressor in 3 Steps
Keep the workflow simple: upload, process, confirm, and download.
Upload the image you want to compress with Image Compressor.
Choose a quality level for a balanced compression level that reduces bytes while keeping the photo natural.
Preview the result, compare the final file size, and download a new compressed copy.
Image Compressor Visual Examples
These simple white-background diagrams show the source file, the browser action, the output, and the way the result gets used in real work.
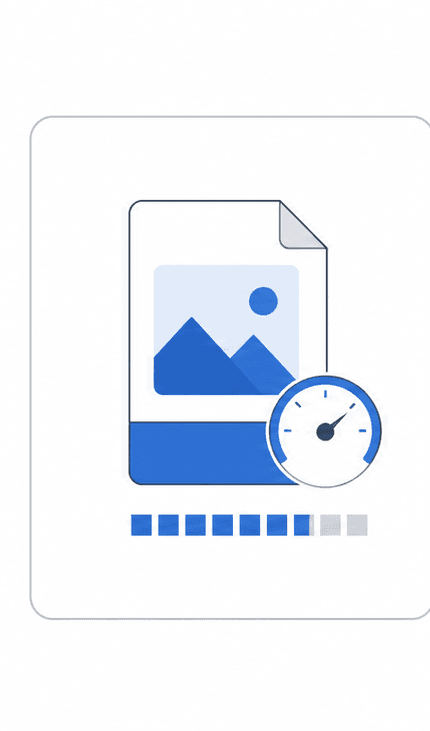
Large Original Image
Use compression when the image looks right already but needs fewer bytes before it goes onto a page, feed, or email.
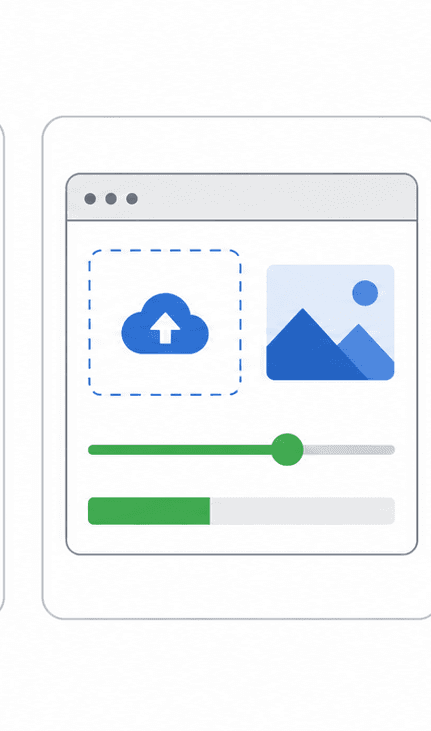
Compression Controls
Adjust the visible compression setting with the final destination in mind instead of trying to force the smallest number.
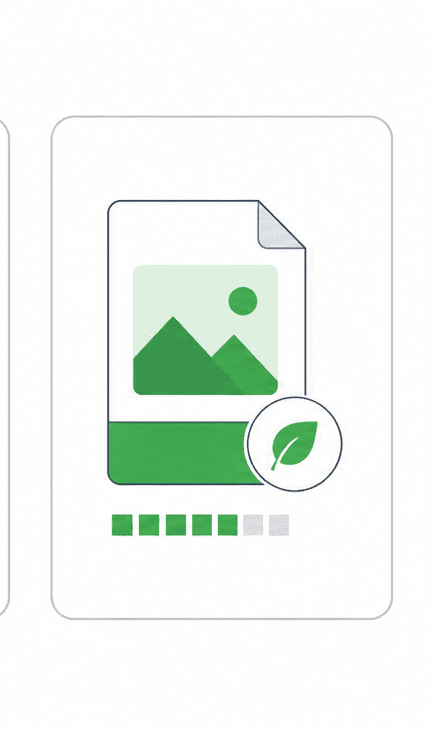
Smaller File Output
The result should be noticeably lighter while keeping the photo believable at normal viewing size.
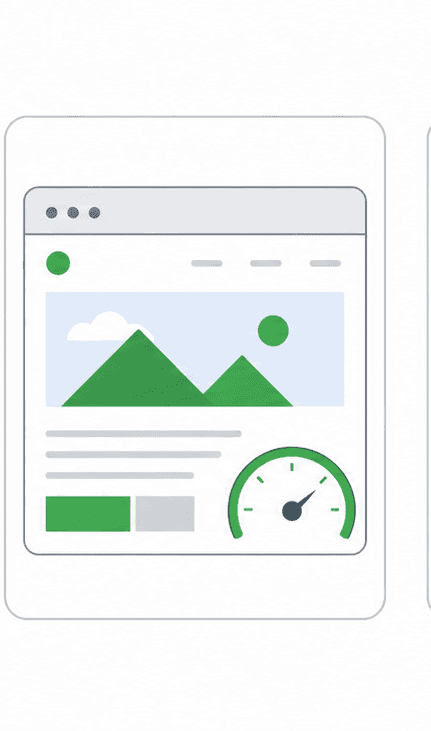
Faster Delivery Context
Check the compressed file in the real destination where performance, upload speed, or attachment limits actually matter.
Original and Compressed
Compare both copies side by side so the smaller file is only accepted after the visible quality still feels trustworthy.
About Image Compressor
Image Compressor is designed for site owners, writers, and marketers who need faster pages without redesigning the image. It provides a clean, immediate interface to help you with a lifestyle or outdoor photo looks right but is too heavy for a landing page, blog post, or campaign email.
The output is a lighter image ready for publishing, social previews, or email delivery. This allows you to quickly complete your work, review results side-by-side, and save your processed files instantly.
Quality, compatibility, and practical tradeoffs
Image Compressor is most reliable when the source image is clean and the final destination is clear. Decide whether the output needs smaller size, exact dimensions, visible detail, or editing flexibility before downloading.
Do not chase the smallest possible file if the image becomes blurry or damaged at normal viewing size. Before downloading, check faces, text, shadows, and fine texture so the smaller file still feels trustworthy so the final asset is ready for the actual page, platform, document, or handoff where it will be used.
When to Use Image Compressor
The same tool can solve different problems depending on who is using it and where the finished asset needs to go.
Real photo workflow
A lifestyle or outdoor photo looks right but is too heavy for a landing page, blog post, or campaign email.
Web publishing
Use Image Compressor before adding assets to landing pages, blog posts, docs, or product pages.
Design handoff
Prepare files in a shape that collaborators and downstream tools can open without confusion.
Marketing production
Create campaign-ready image copies while preserving the original source for later edits.
Image Compressor Quality Checklist
A fast image tool is most useful when the output is checked against the real publishing context. Use this checklist before treating the result as final.
For high-value work, compare the downloaded output with the original and keep both files until the asset has been approved in its final destination. That small habit prevents avoidable quality loss across repeated exports.
Compare the compressed image against the source at normal viewing size.
Inspect faces, text, gradients, and product edges for artifacts.
Avoid repeated JPG recompression when possible.
Keep a high-quality source for future edits.
Image Compressor FAQ
Short answers to the questions users usually ask before they commit to a file workflow.
Is Image Compressor free to use?
Yes. The compress image online page is free to access and does not require signup.
Does Image Compressor work in the browser?
Image Compressor processes your images directly in your browser using secure client-side APIs, so you can preview and download the output instantly without uploading files to any server.
What should I check before using Image Compressor output?
faces, text, shadows, and fine texture so the smaller file still feels trustworthy. Compare the compressed image against the source at normal viewing size. Inspect faces, text, gradients, and product edges for artifacts. Avoid repeated JPG recompression when possible. Keep a high-quality source for future edits.
Who is Image Compressor best for?
Image Compressor is best for site owners, writers, and marketers who need faster pages without redesigning the image. It is especially useful when a lifestyle or outdoor photo looks right but is too heavy for a landing page, blog post, or campaign email.
Will my original file be changed?
No. Imgny workflows create a new output or guidance path, so the original file on your device should remain available.
When is Image Compressor the right choice?
Image Compressor is most reliable when the source image is clean and the final destination is clear. Decide whether the output needs smaller size, exact dimensions, visible detail, or editing flexibility before downloading.
Related Image Tools
Move straight into the next step of the workflow with related conversion, compression, editing, or publishing tools.

Learn More About This Topic
Pair the tool with educational guides so users can understand the format choice, the quality tradeoffs, and the next best workflow.

How to Compress JPG Images Without Losing Quality
Compress JPG images by balancing file size and visible quality, then inspect faces, text, skies, and product edges before using the final copy.

PNG vs JPG: Which Format Should You Use?
PNG is best for transparency and sharp graphics. JPG is best for everyday photos, lighter uploads, and faster publishing when transparency is not needed.
WebP vs PNG: Which Is Better for Web?
WebP is usually better for lightweight website delivery, while PNG is still the safer choice for transparency, crisp graphics, and editing workflows.